


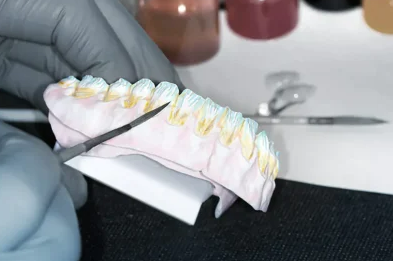
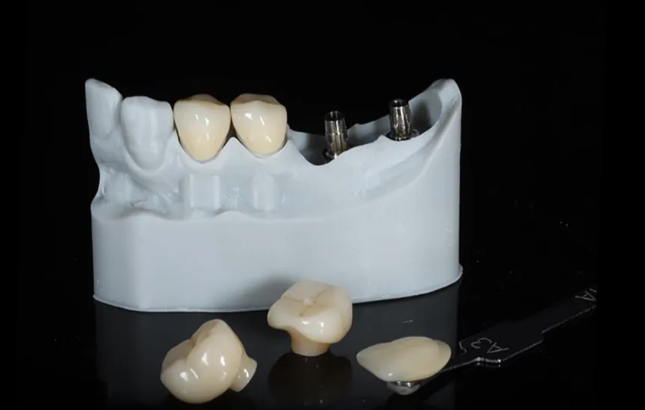
Monolithic zirconia delivers unmatched strength and efficiency in CAD/CAM workflows, yet achieving consistent, lifelike shade and high translucency remains one of the biggest challenges for dental technicians. The most common causes of uneven staining, white spots, and dull translucency? Residual moisture after applying coloring liquids.
Pre-sintered zirconia is 45–50% porous and readily absorbs water-based or alcohol-based coloring liquids. If this moisture is not removed completely and evenly before sintering, steam pressure, pigment migration, and incomplete densification create visible defects that lead to remakes.
A dedicated zirconia dryer (controlled low-temperature oven or infrared unit) is the single most effective tool to lock in pigments, ensure uniform color, and preserve natural translucency. This practical 2026 technician guide provides proven protocols, exact temperatures and times, a drying reference table, and troubleshooting checklist used in high-volume labs.
Why a Zirconia Dryer Is Essential After Coloring
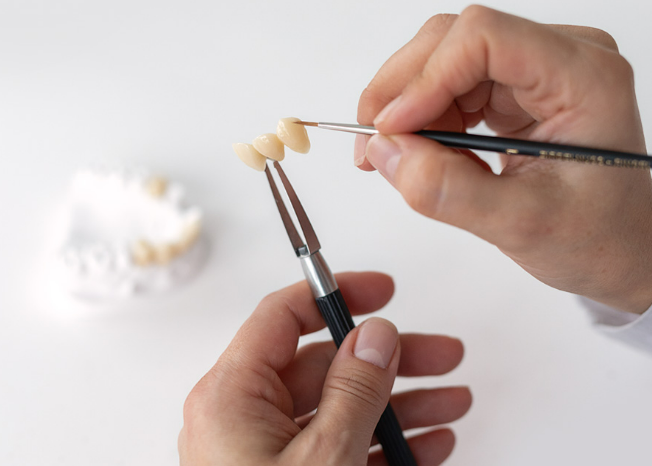
Coloring liquids contain metal salts in solvent carriers. After dipping (10–60 seconds) or brushing, the porous zirconia holds excess liquid. Placing wet restorations directly into a sintering furnace (ramp rates up to 15–23°C/min) causes rapid boiling between 100–300°C. This leads to:
- Pigment displacement and pooling
- Localized steam pressure creating white spots
- Interference with particle densification, reducing light transmission
Controlled drying at 80–100°C evaporates solvents gently, stabilizes pigments on pore walls, and equalizes moisture distribution. Independent lab observations and manufacturer guidelines confirm that proper pre-drying reduces shade variation by 30–50% and virtually eliminates white-spot incidence.
The 3 Defects a Zirconia Dryer Prevents
- Uneven Staining & Blotchy Color Excess liquid pools in grooves or cervical areas during rapid heating, concentrating pigments. Result: dark bands or patchy shades.
- White Spots & Opaque Patches Moisture pockets or fingerprints seal pores, preventing uniform pigment penetration. Steam creates localized voids that appear as bright white spots after sintering.
- Poor Translucency & Chalky Appearance Trapped moisture disrupts fine grain structure and increases light scattering. High-translucency 4Y/5Y zirconia can lose 10–20% of its translucency parameter (TP) value.
A dedicated dryer solves all three by providing gradual, uniform heat and airflow.
Practical Drying Protocol: Step-by-Step (2026 Standard)
Follow this repeatable sequence for consistent results:
- Post-coloring preparation Wear nitrile gloves. Gently remove excess liquid with light compressed air or absorbent paper – never wipe or rinse.
- Ambient air dry Place restorations on a perforated sintering tray. Allow 10–20 minutes at room temperature.
- Zirconia dryer phase (core step) Load into dedicated dryer. Set temperature and time according to the table below.
- Final verification Restorations must feel completely dry and matte. Optional: weigh before/after for consistent moisture loss.
- Transfer to sintering Move directly to furnace or store in a desiccator. Use furnace’s built-in 150°C hold if available.
| Restoration Type | Thickness | Coloring Intensity | Dryer Temperature | Recommended Time | Notes |
|---|---|---|---|---|---|
| Single crowns | Thin | Light–Medium | 80–90°C | 30–45 min | Standard cases |
| Single crowns | Thick | Heavy/Deep | 90–100°C | 45–60 min | Multiple dips |
| 3–4 unit bridges | Medium | Medium | 90°C | 60–75 min | Extended for connectors |
| Full-arch / long-span | Thick | Heavy | 90–100°C | 75–90 min | Add 10 min at 150°C final hold |
| Ultra-translucent anterior | Thin | Light | 80–85°C | 45–60 min | Protects highest translucency |
Technician Troubleshooting Checklist
- White spots appear → Extend dryer time by 15–20 min or raise final hold to 150°C for 10 min. Check for fingerprints or dust.
- Uneven cervical shading → Increase ambient air-dry to 20 min + fan-assisted dryer airflow.
- Chalky/low translucency → Reduce dryer temperature to 80°C and extend time; avoid >100°C to prevent pigment burn-off.
- Cracks in connectors → Confirm complete dryness (no glossy spots); add furnace pre-hold at 150°C.
- High lab humidity → Add 15–30 extra minutes or use dehumidifier in drying area.
Pro tips:
- Dry between multi-layer coloring applications (15–20 min) to prevent running.
- Clean dryer monthly – residue transfers defects.
- Overnight ambient dry + morning 45-min dryer cycle works well for busy labs.
Conclusion: Small Investment, Massive Aesthetic Payoff
Using a zirconia dryer correctly turns unpredictable coloring into repeatable, high-aesthetic results. By following the protocols above – especially the 80–100°C controlled drying phase – technicians eliminate the three most common defects and deliver monolithic zirconia that matches shades accurately, displays natural translucency, and requires minimal chairside adjustment.
In today’s competitive digital dentistry environment, where same-day or next-day monolithic restorations are expected, this 30–90 minute step delivers one of the highest returns on investment in the entire CAD/CAM workflow.